/
/
Mastering Azure Database Query Tool: Uncover Best Practices for Streamlined Data Access and Azure SQL Setup
TOOLS
Introduction:
Microsoft Azure is a popular choice for organizations looking to harness the power of cloud-based databases. One of the essential tools available in Azure is the Database Query Tool, which allows users to access and manage their data effectively. In this blog post, we will delve into the best practices and hidden features of the Azure Database Query Tool, enabling you to optimize your database querying experience. Additionally, we will touch upon the Azure SQL setup process to ensure a seamless start.
Azure SQL Setup:
Before diving into the best practices of the Azure Database Query Tool, it's crucial to understand how to set up Azure SQL. Azure SQL Database is a fully managed platform as a service (PaaS) that provides a robust and scalable database solution for your applications. To set up Azure SQL, follow these steps:
Sign in to the Azure portal (https://portal.azure.com/).
Click on the 'Create a resource' button in the left-hand menu.
Search for 'Azure SQL' in the marketplace and select it.
Click on the 'Create' button to start the setup process.
Choose the appropriate subscription and resource group for your new Azure SQL instance.
Provide a unique server name, admin login, and password for your server.
Select the desired location for your server and the appropriate pricing tier based on your requirements.
Configure additional settings such as firewall rules, backup storage, and monitoring options.
Click on the 'Review + create' button to review your settings, and then click on 'Create' to deploy your Azure SQL instance.
Once your Azure SQL instance is up and running, you can connect to it using the Azure Database Query Tool and start managing your data.
Creating and Executing Queries:
The first step to using the Azure Database Query Tool effectively is to understand the basics of creating and executing queries. Start by connecting to your Azure database and opening a new query window. Here, you can write your SQL queries using the intuitive syntax highlighting feature, making it easier to spot errors and maintain a clean code.
After crafting your query, click on the 'Execute' button or press F5 to run it. The results will be displayed in the lower pane, where you can analyze the data and even export it to a CSV or JSON file for further analysis.
Saving Queries and Query Templates:
To save time and effort, consider saving your frequently-used queries. This way, you can quickly access them whenever needed. To save a query, click on the 'Save As' button in the toolbar and choose a location to store the file.
Additionally, Azure Database Query Tool supports query templates, allowing you to reuse predefined queries with minimal modifications. To create a template, save your query with the '.sqlt' extension. You can then access your templates from the 'Templates' folder in the 'Solution Explorer.'
Leveraging AI2SQL with Azure SQL:
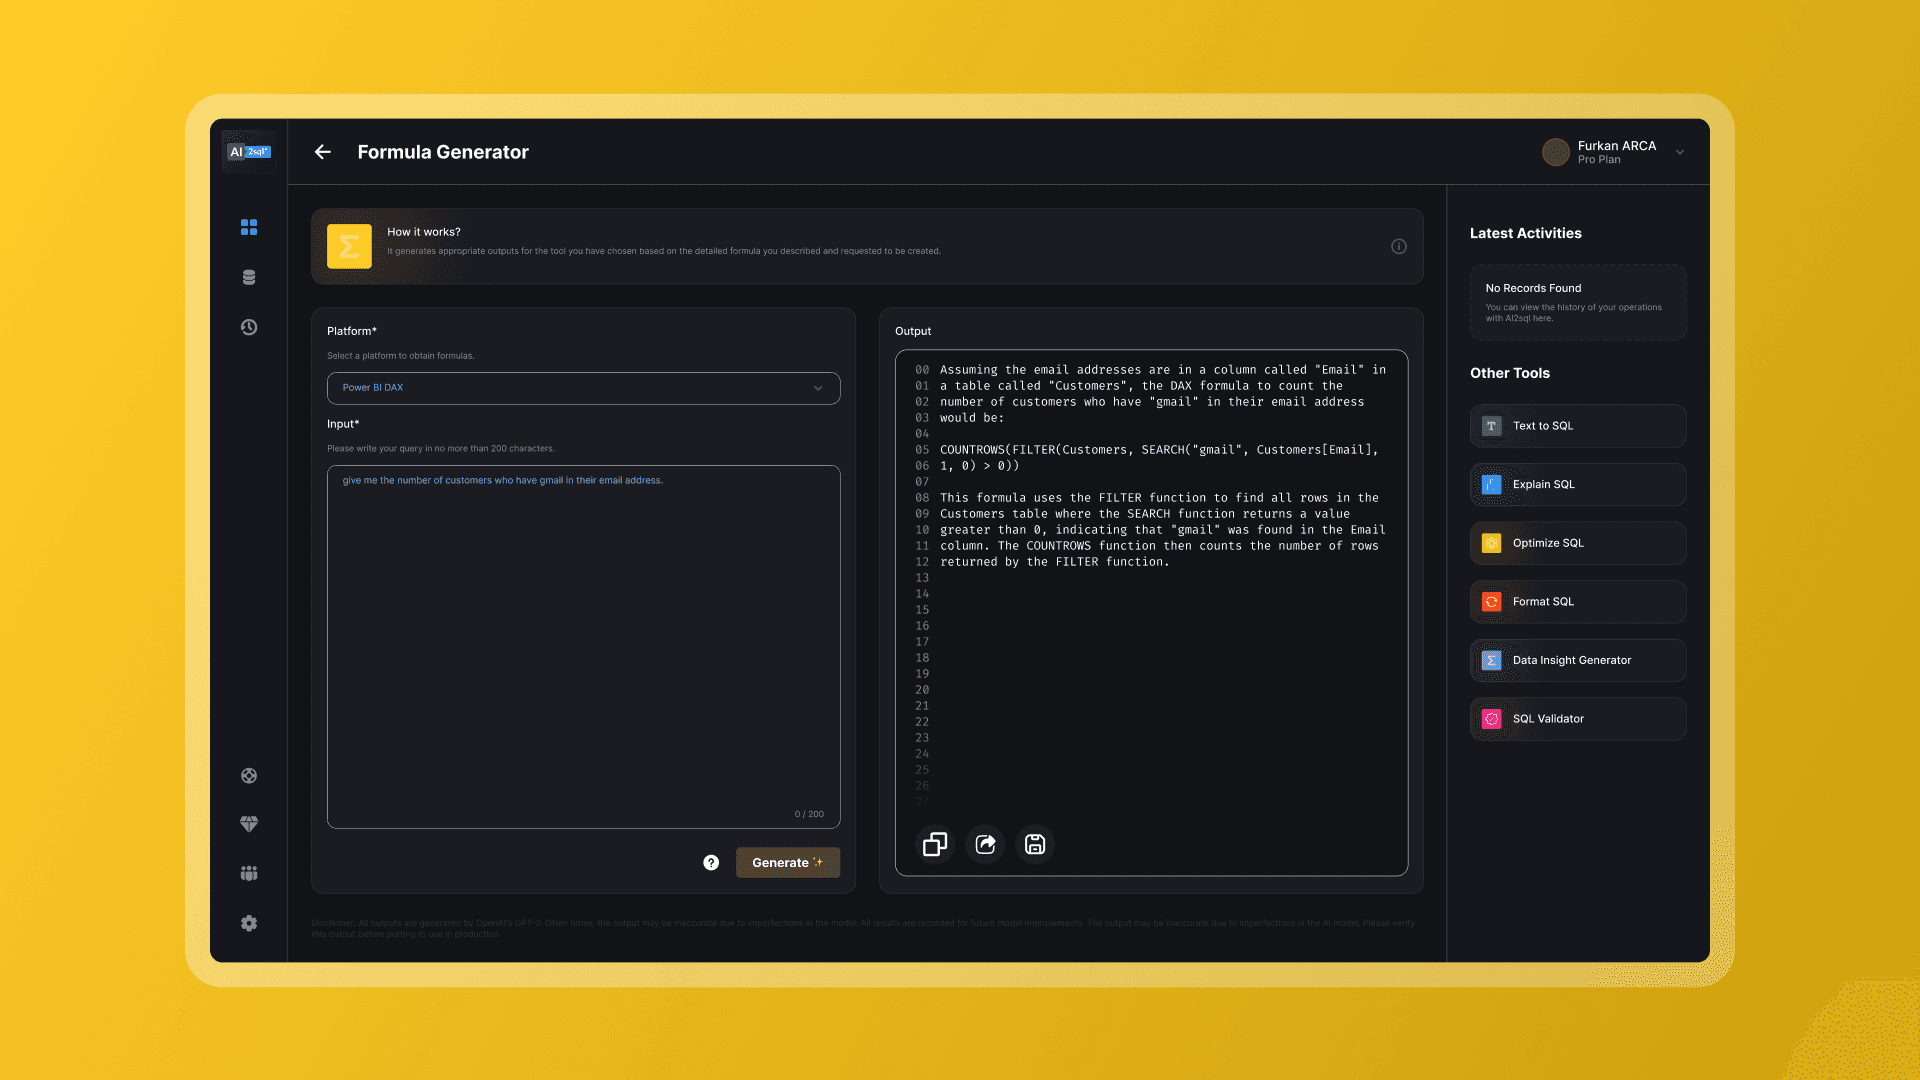
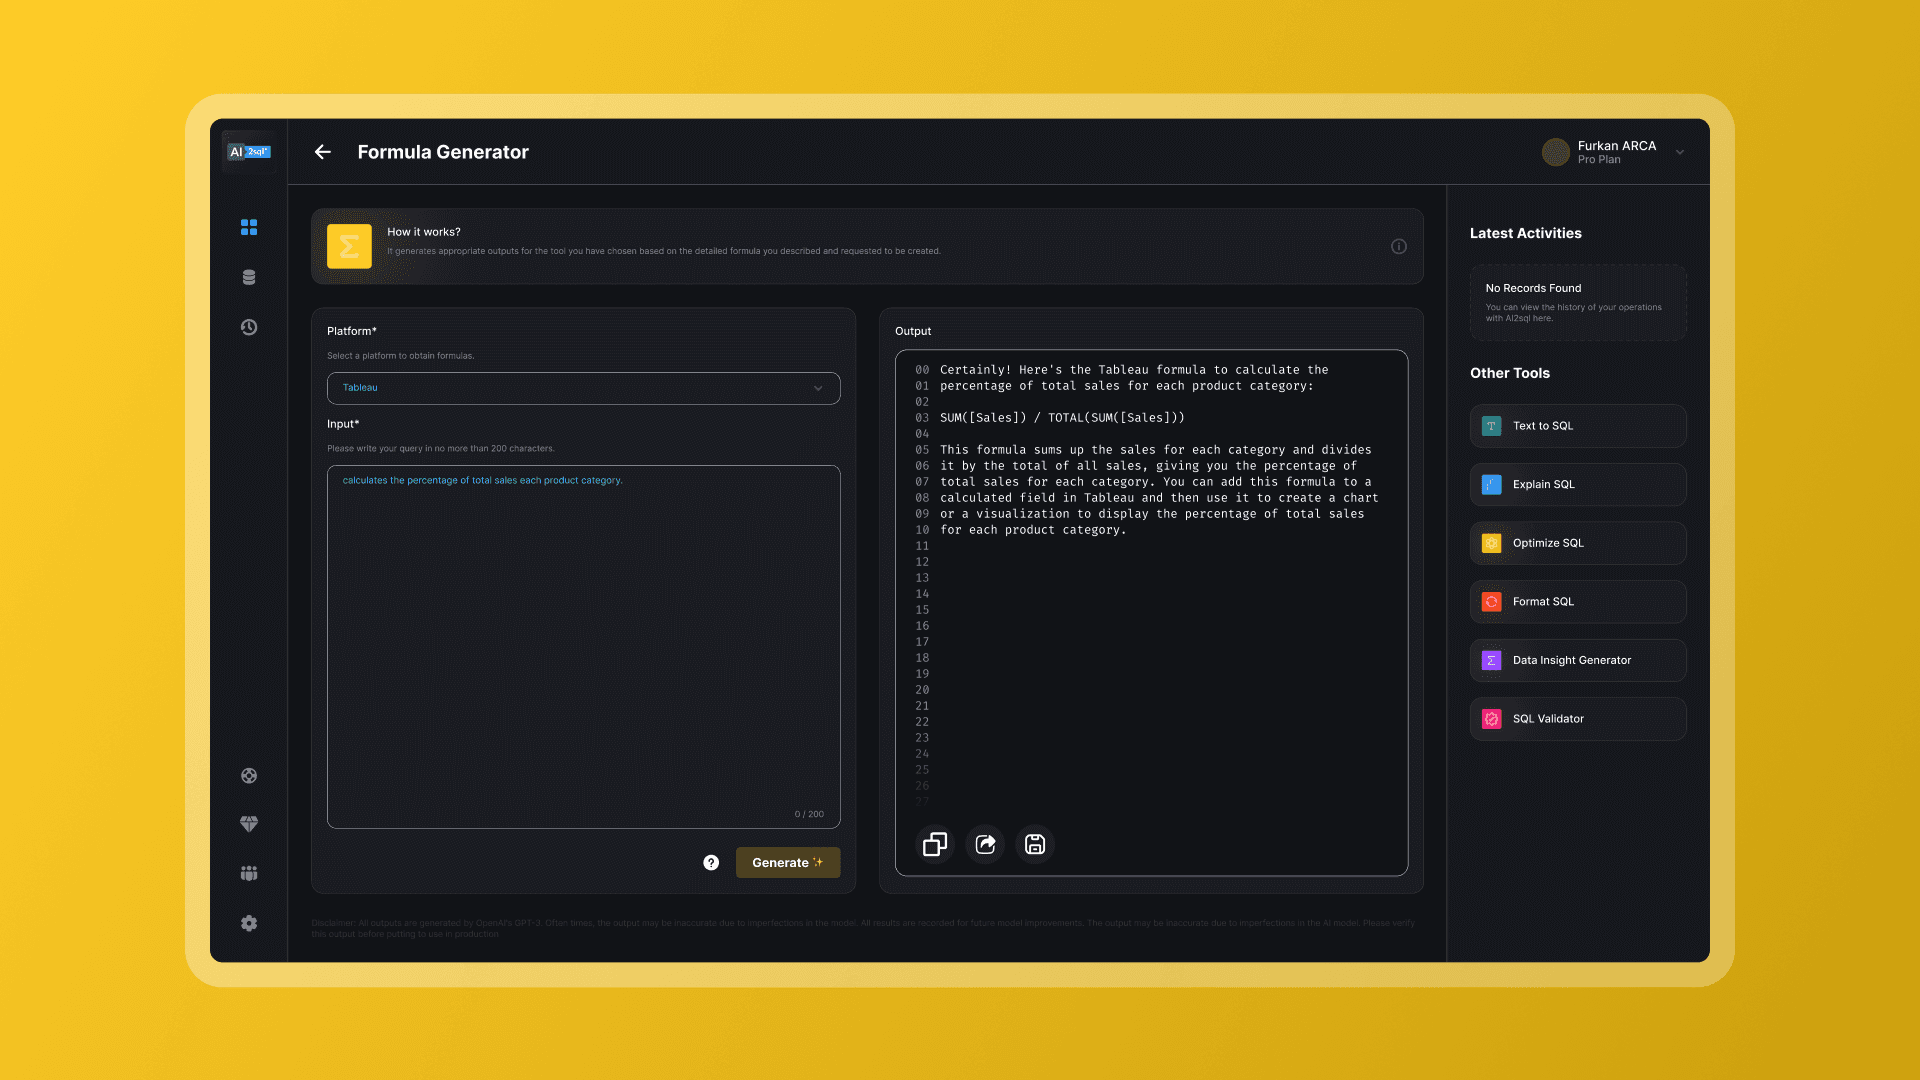
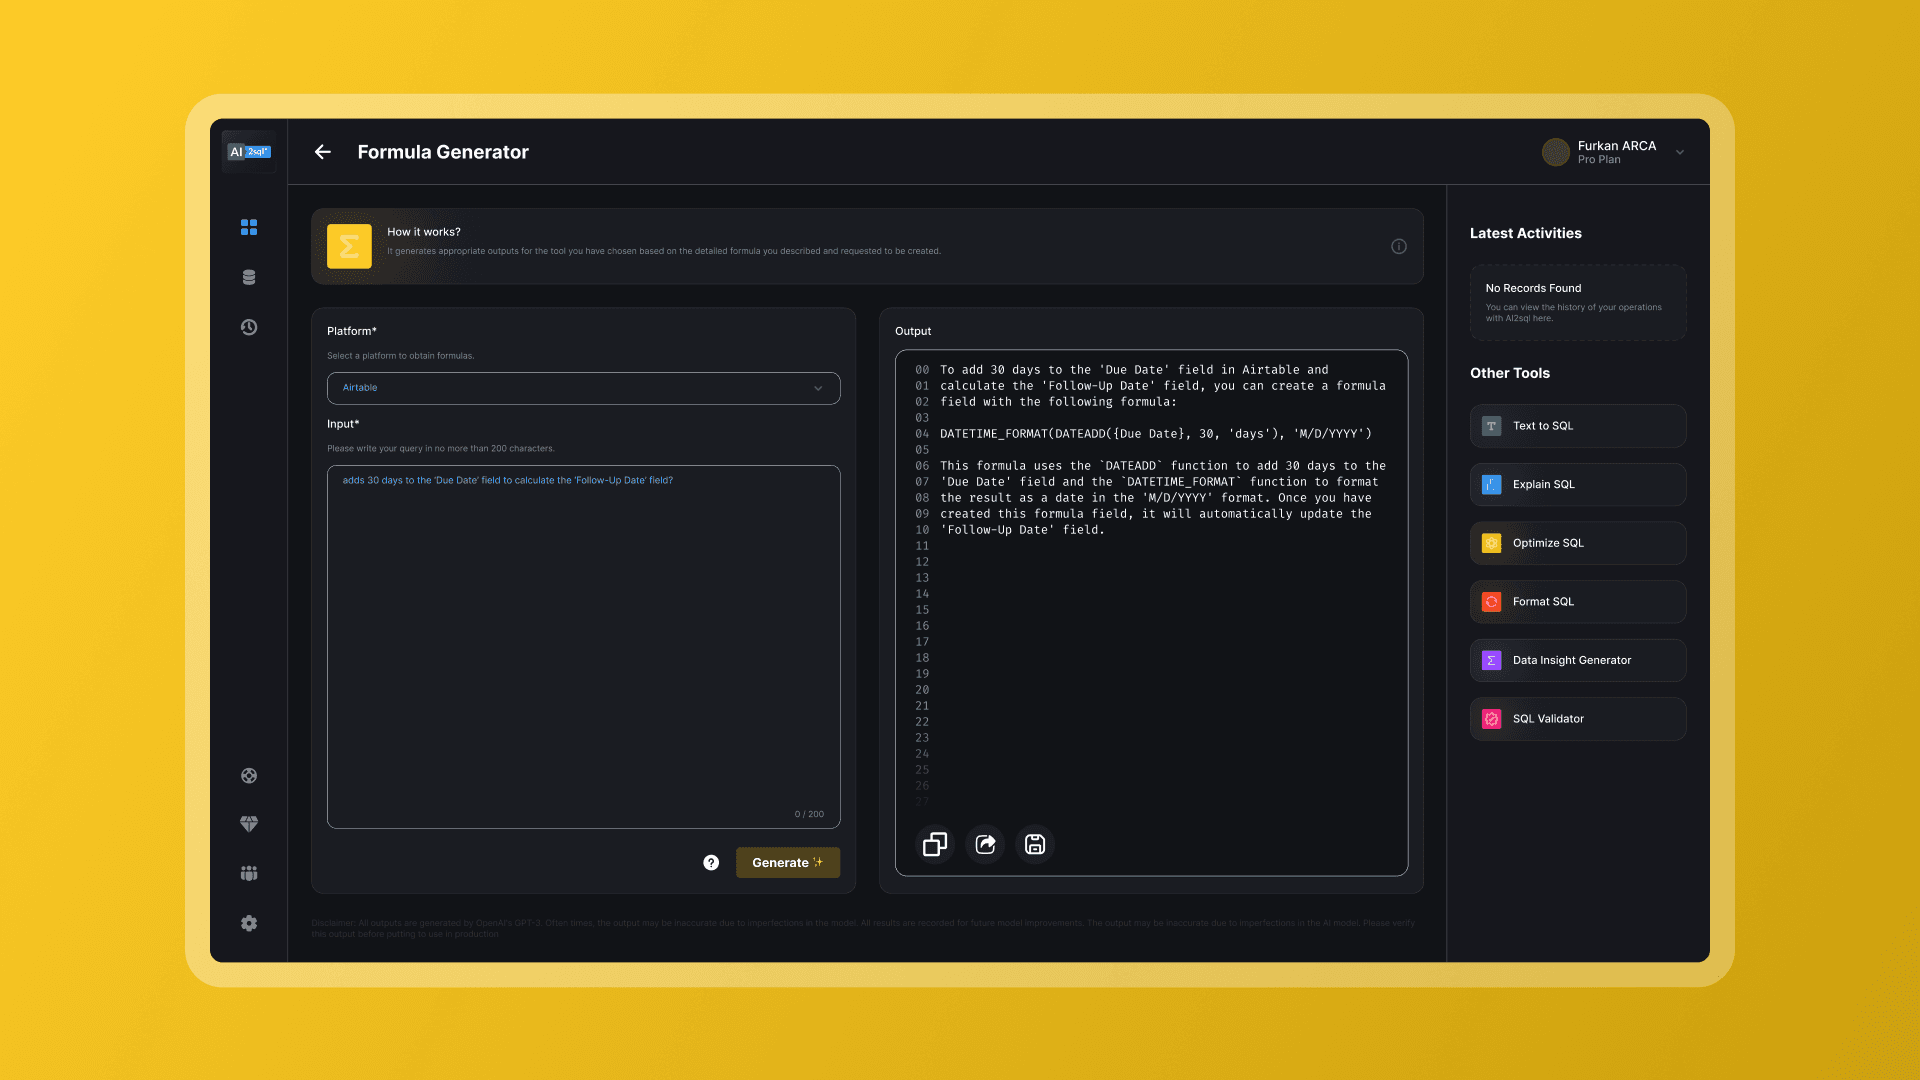
AI2SQL is an advanced Artificial Intelligence (AI) solution that simplifies database querying by translating natural language questions into SQL queries. This innovative technology can be used alongside Azure SQL to make data access more efficient and user-friendly, especially for non-technical users.
To use AI2SQL with Azure SQL, follow these steps:
Connect AI2SQL to your Azure SQL instance: Provide the connection details for your Azure SQL instance, such as the server name, database name, username, and password, to establish a connection between AI2SQL and your database.
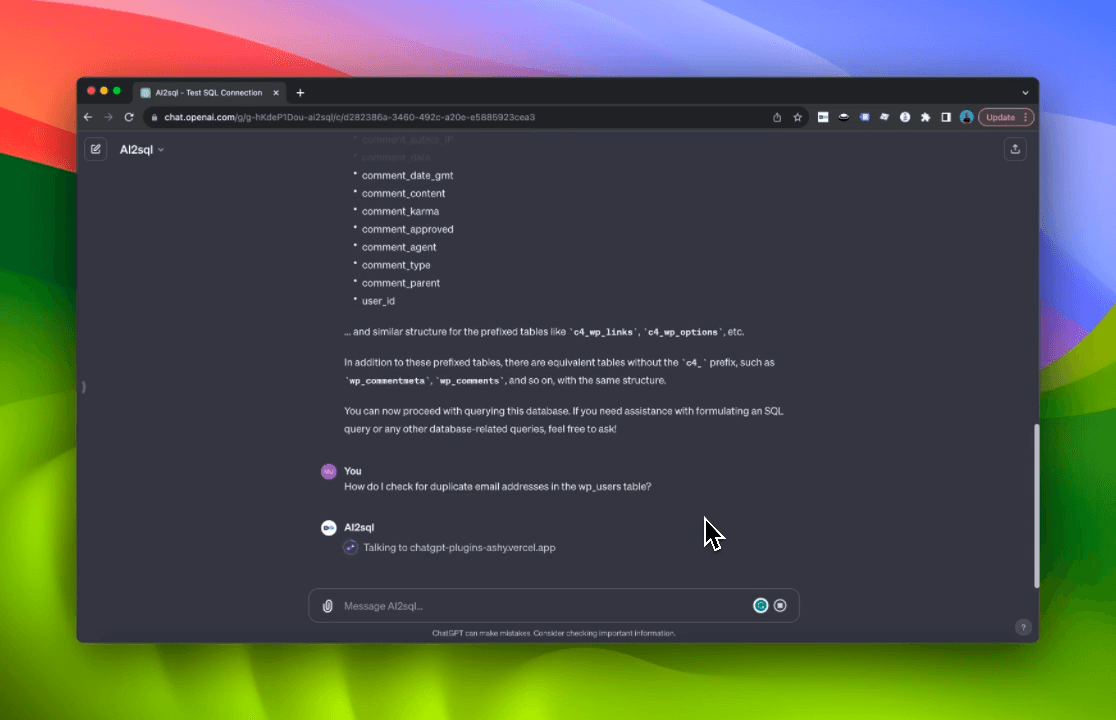
Start asking natural language questions: With the connection established, users can start asking questions in plain English or any other supported language. AI2SQL will analyze the question, generate the corresponding SQL query, and execute it against the Azure SQL database.
Retrieve and display results: The results of the query can be fetched and displayed in your application or tool for users to analyze and make data-driven decisions.
By integrating AI2SQL with Azure SQL, you can empower non-technical users to access and analyze data without having to learn SQL or rely on database experts. This not only streamlines the data access process but also fosters a data-driven culture within your organization.
Conclusion:
In conclusion, mastering the Azure Database Query Tool, setting up Azure SQL correctly, and leveraging AI2SQL are essential for efficiently managing your cloud-based databases. By understanding the best practices and hidden features, such as query folding and query templates, you can optimize your database querying experience and streamline your data access process. Integrating AI2SQL with Azure SQL further simplifies data access for non-technical users, promoting a data-driven environment. Make sure to explore all the features and functionalities of the Azure Database Query Tool and AI2SQL to get the most out of your Azure database management.
Try AI2SQL free for 7 days!
Ready to take your Azure SQL experience to the next level? Don't miss the opportunity to harness the power of AI2SQL integration. AI2SQL simplifies data querying by translating natural language questions into SQL queries, making data access easier and more user-friendly.
Click the link below to learn more about AI2SQL and how it can transform your database management experience by empowering non-technical users to access and analyze data without learning SQL.
